
By Mike Hanson, images ©Mike Hanson
While most of what I try to focus on is auto modeling, over the last few months I’ve had more than a few distractions. When I do ships or aircraft, I try to narrow my view to the Pacific theater in World War II. This keeps the number of kits down since the subjects are mostly US or Japanese forces. (Though my wife might debate the ‘fewer’ number of kits.)
 One area that I have a particular interest in is the Japanese kamikaze. It’s generally known that when things began to become desperate for the Japanese war effort their military leaders began selecting and training men to fly their aircraft into American warships. What is not generally known is that there were purpose-built aircraft made just for this type of attack, dropped by Mitsubishi G4M Betty bombers and powered by three rocket engines. They also did something similar with human-guided torpedos.
While the traditional aircraft used for this purpose met with some success, fortunately for the US naval forces these specially-built delivery systems did not. By the time these kamikazes were put to use, Japan had effectively lost the war. The fact that they could still find pilots willing to expend their life in this futile enterprise is as shocking today as it was to the American sailors who encountered them. They named these rocket-powered suicide planes Baka Bombs, meaning fool or idiot.
The Japanese had a different name for the aircraft. They called it Ohka, which means cherry blossom. The cherry blossom is very special to the Japanese, and it blooms quickly in an explosion of color, but it dies quickly. As the Ohka was a single-use aircraft, it’s easy to see how the moniker fit. The pilots of these aircraft were treated as very special, given privileges and recognition that other Japanese military men were not. The Emperor’s chrysanthemum symbol was often painted on the aircraft as well, giving it an even more special identity.
 In practice, the Ohka was dropped from its parent bomber and began a glide towards the target area. When it was close enough the pilot tripped the three rocket engines, which increased the speed tremendously, to over 650 mph, making it nearly unstoppable. In the nose was a huge warhead which weighed over 2,600 pounds, and was set to detonate upon impact with the target. Fortunately for the US forces – and unfortunately for the Japanese – advances in radar made it possible to spot the incoming bombers long before they were in range to drop their cargo. More often than not, American fighters decimated the bomber formations and the Ohka’s along with them. During the course of the war, only seven managed to find a target, though often the result was not fatal to the target vessel.
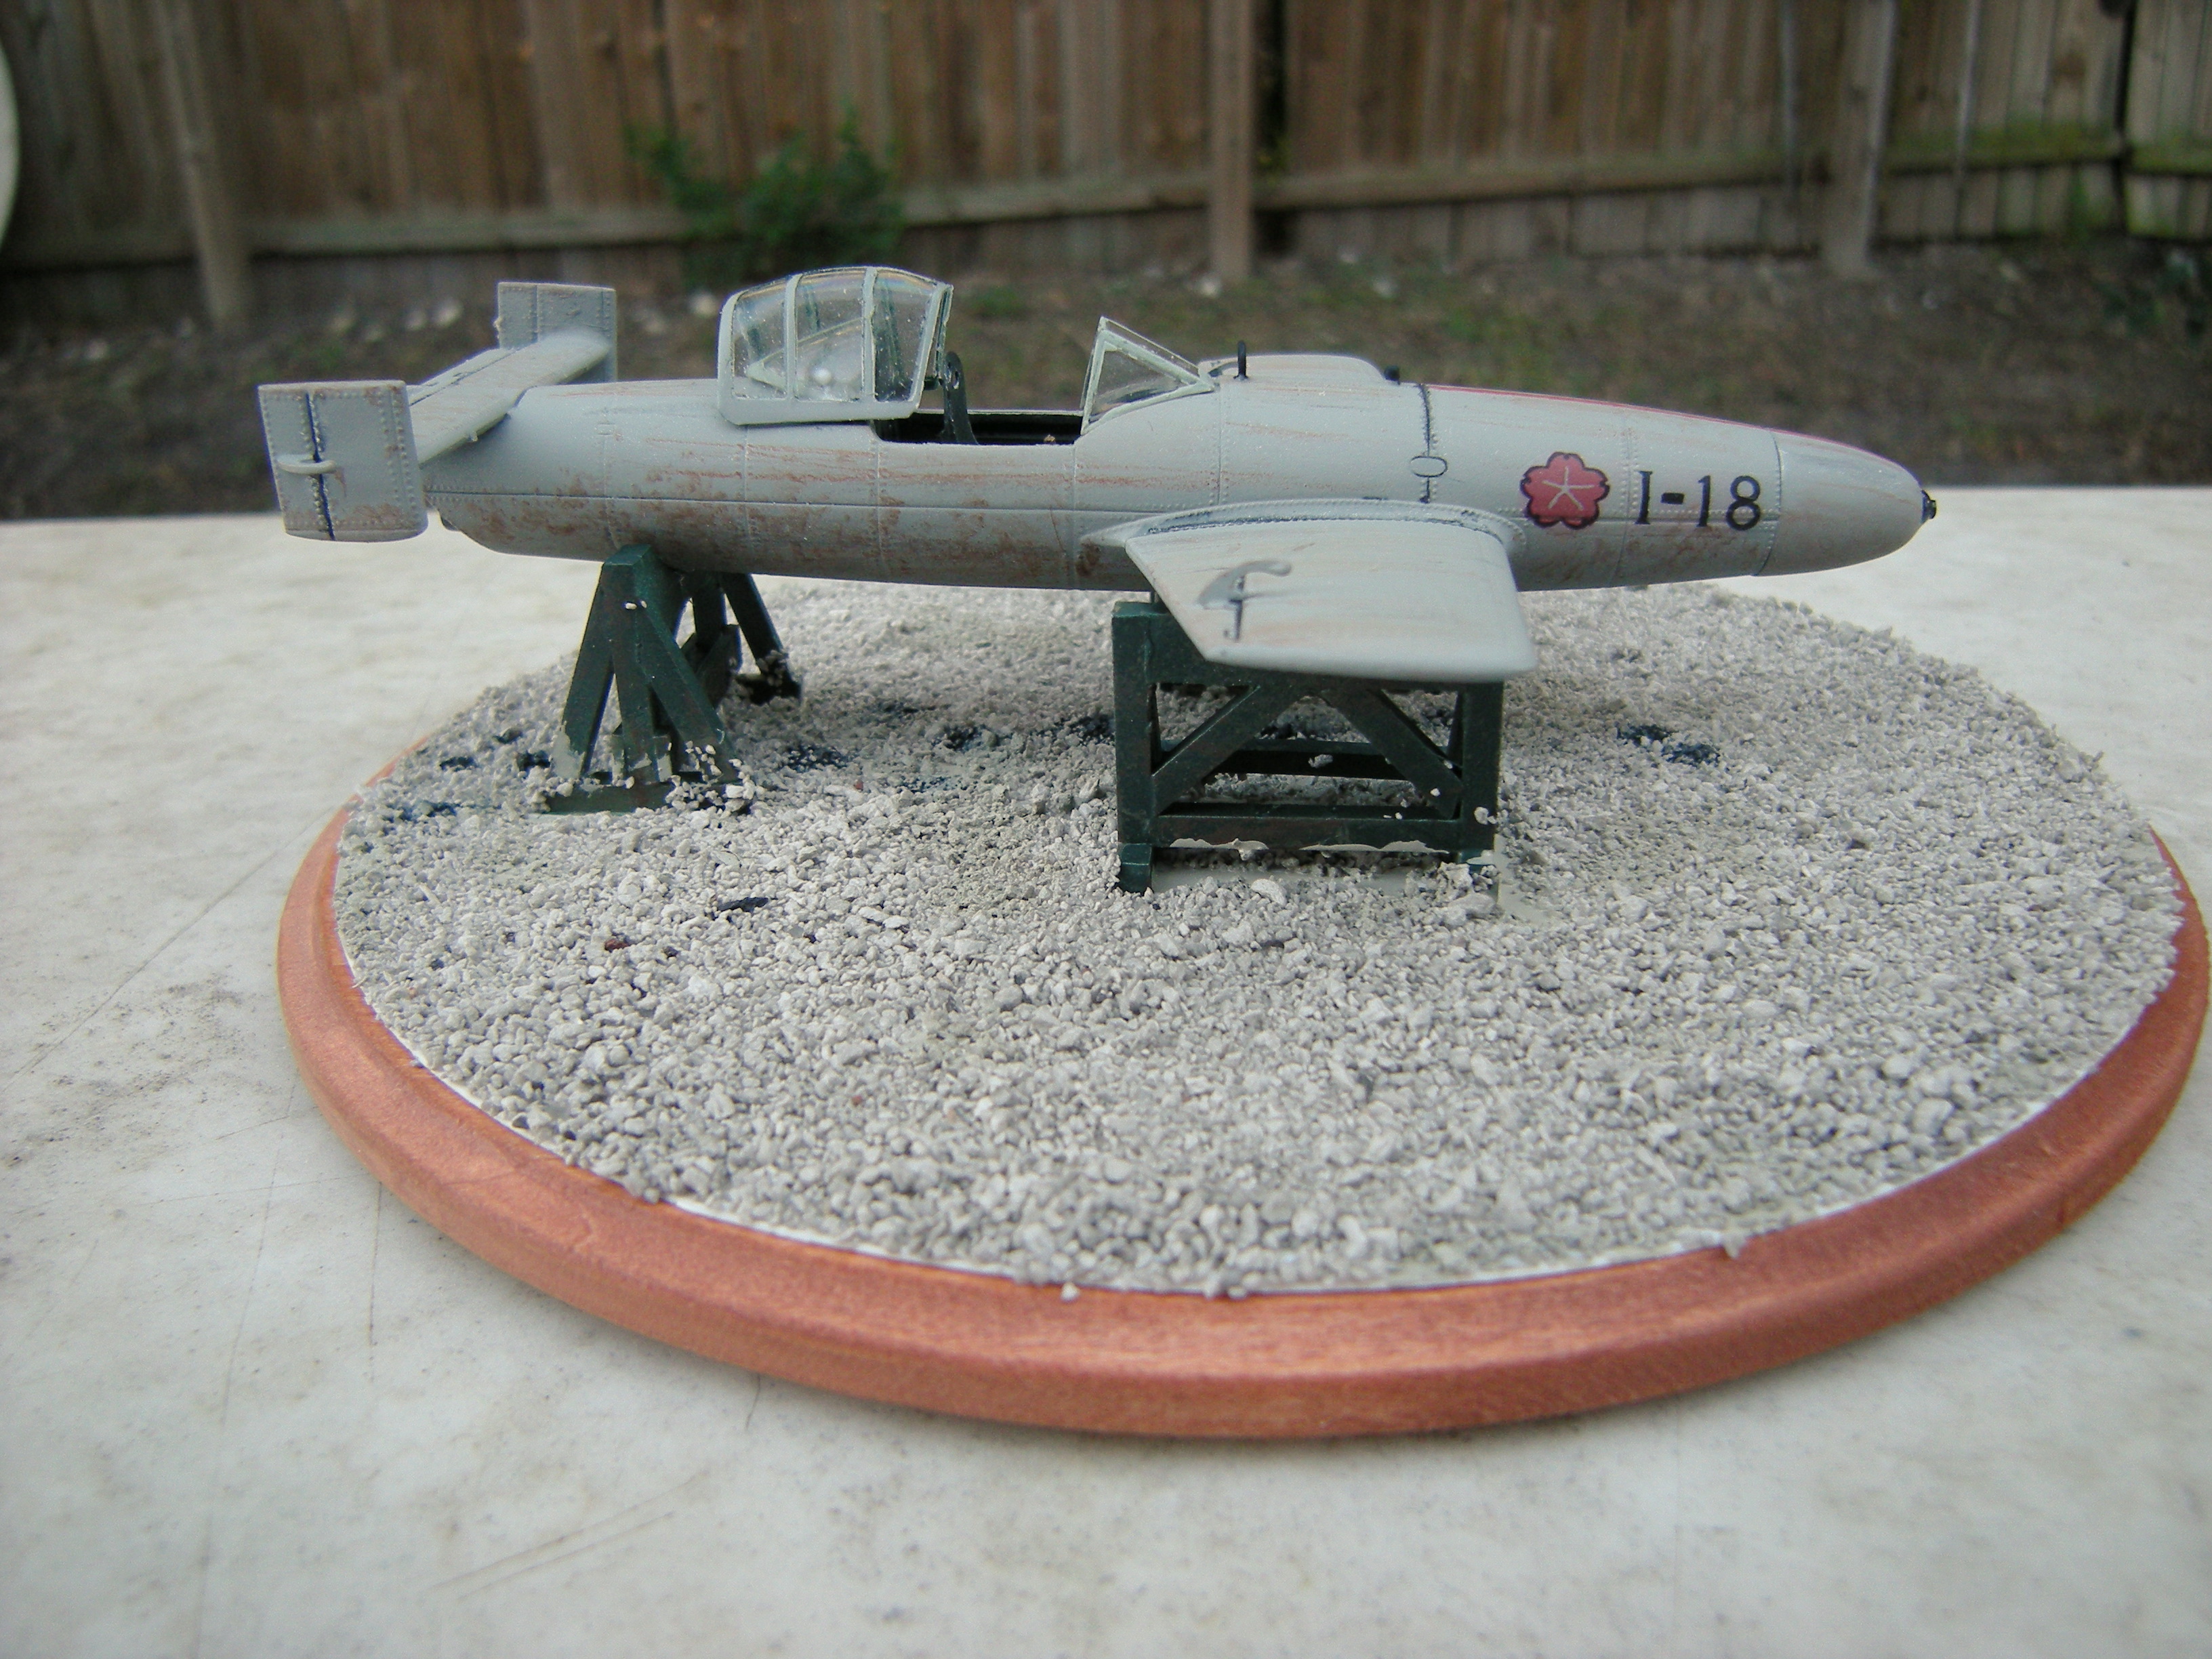
I had been reading about this aircraft when I happened across the really old 1/48 scale Hawk kit of an Ohka at a club swap meet. It was just a rattling box of parts, but I thought I could do something with it and the price of a couple bucks was just right. So at the end of the night it went home with me.
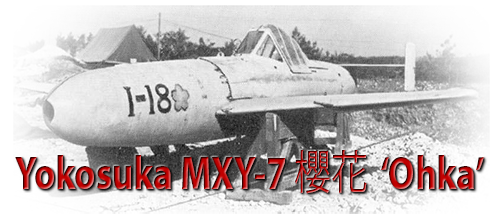
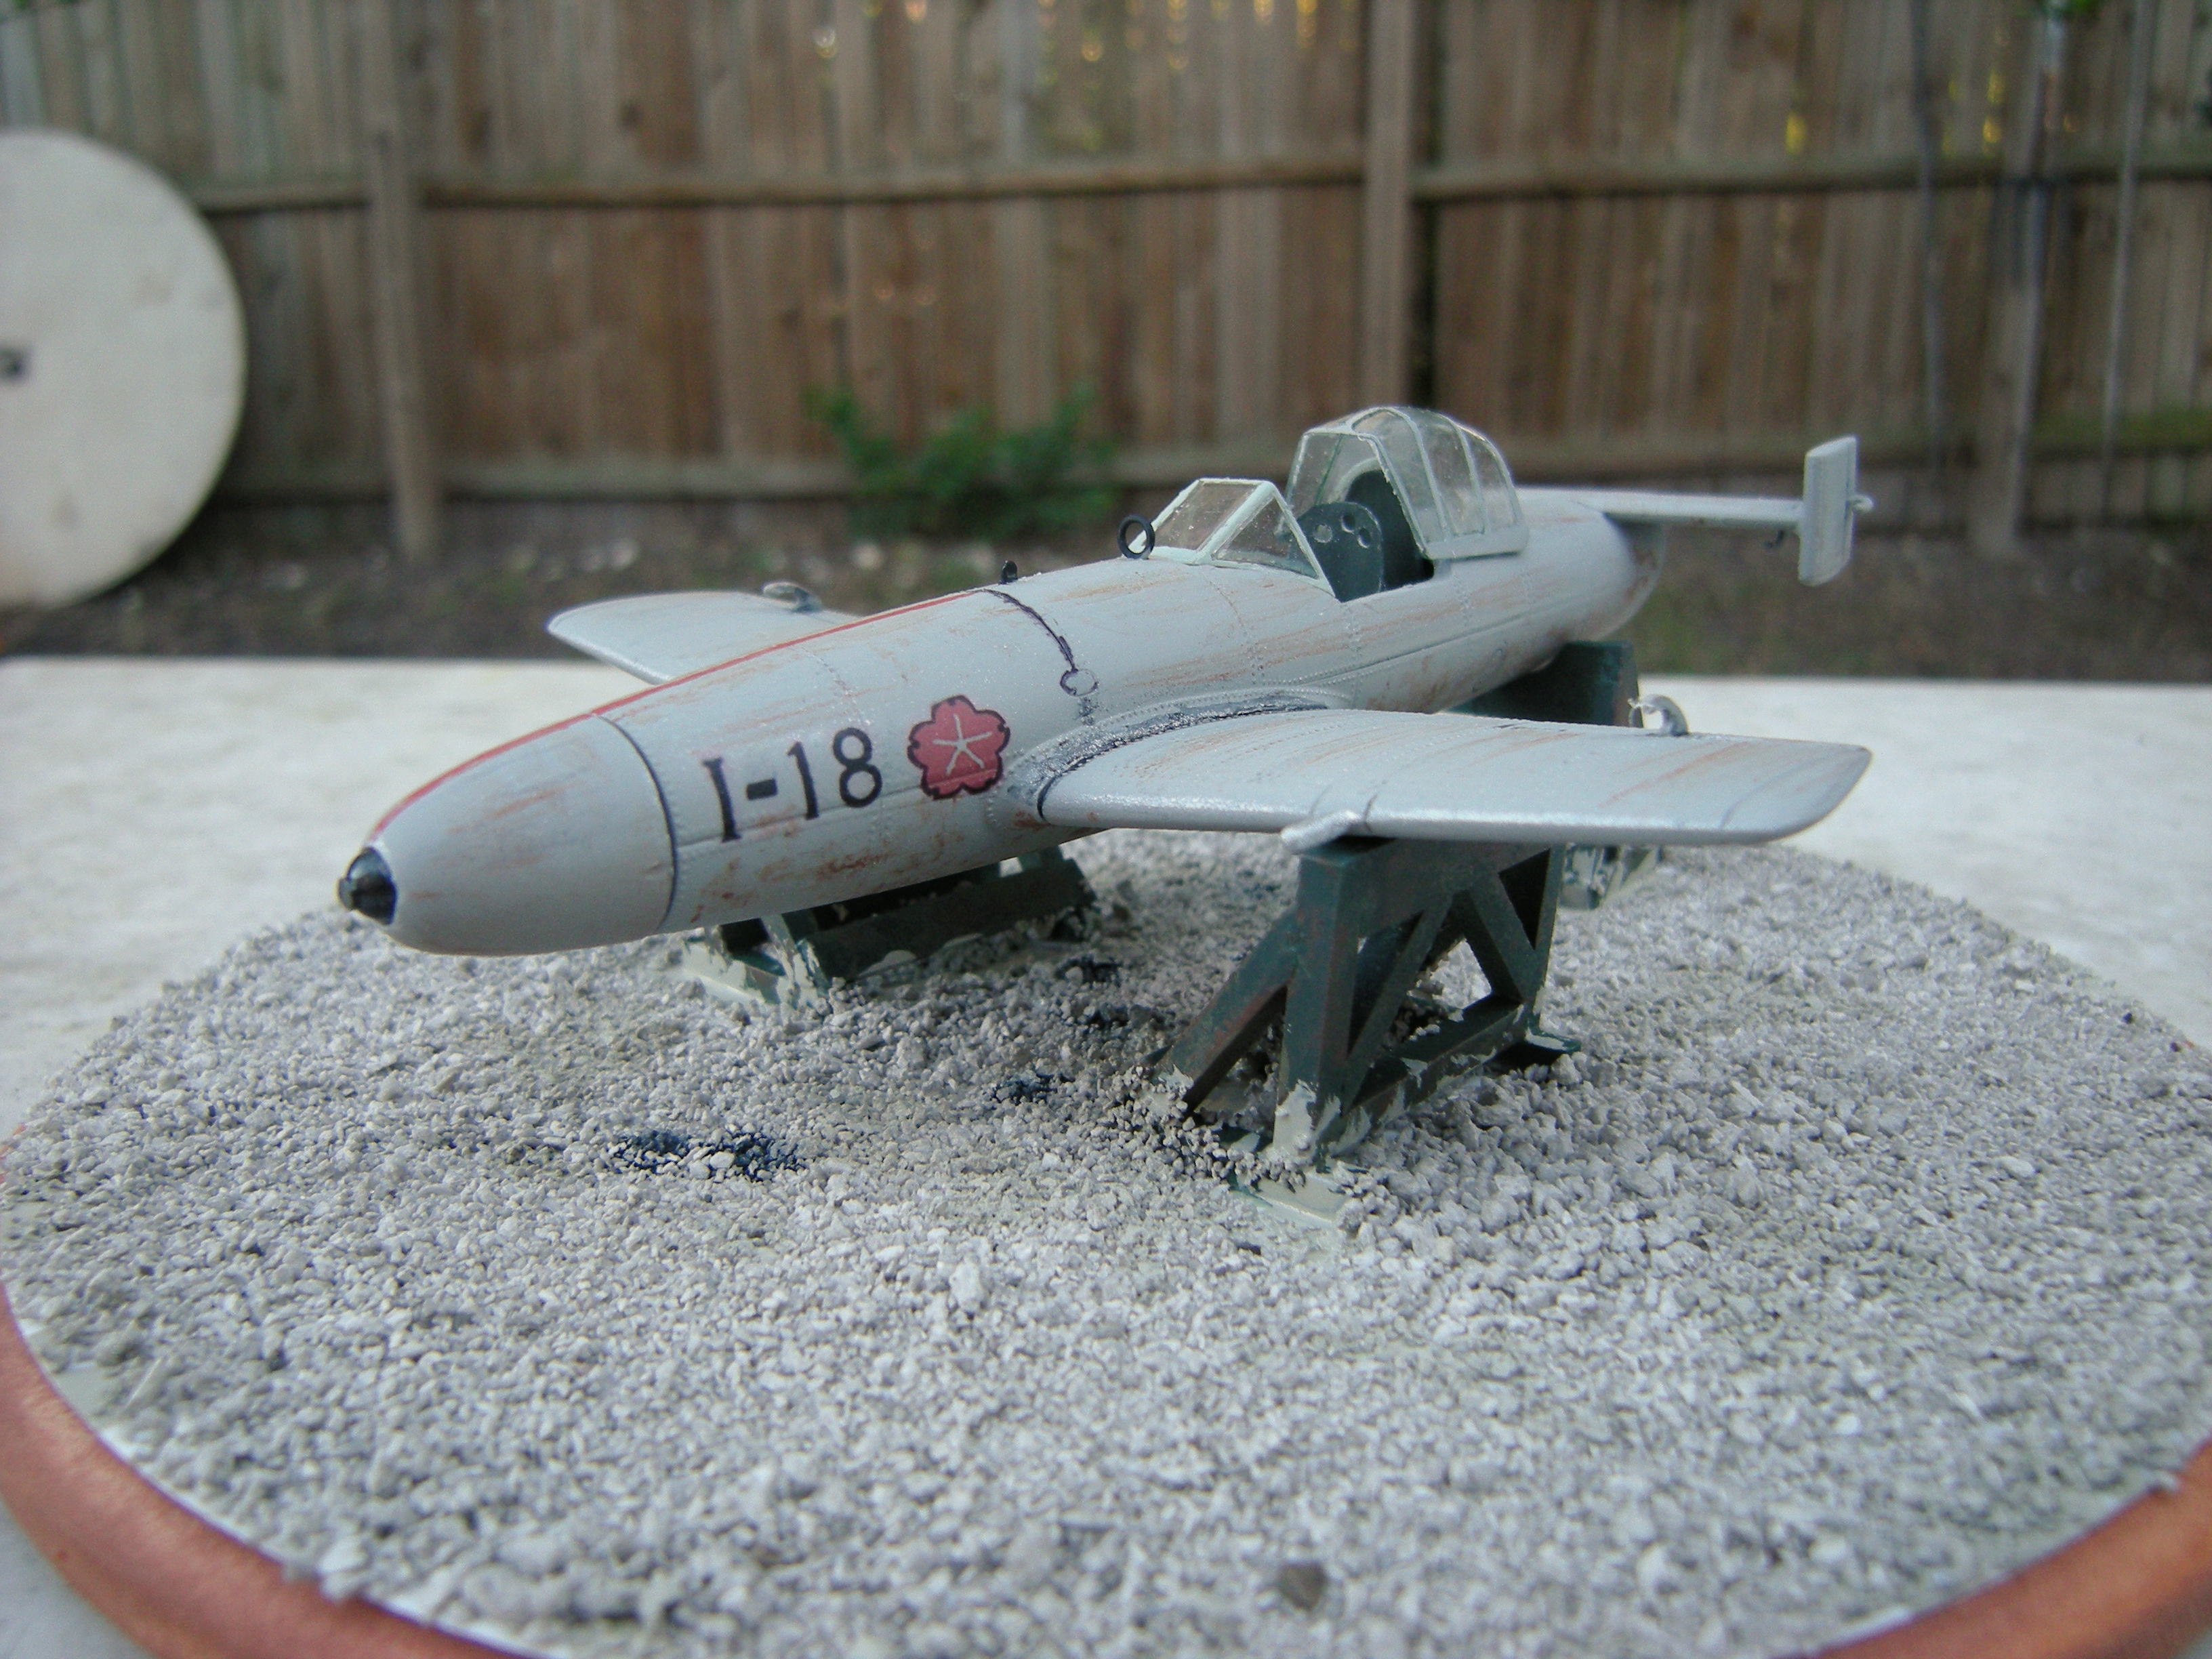
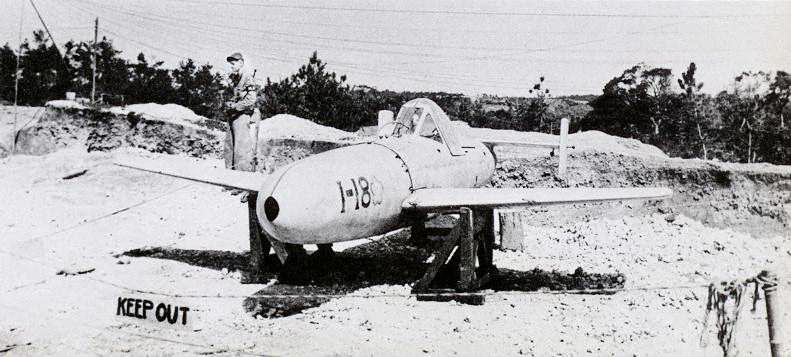
I decided to build it as an abandoned Ohka that the Allied forces found on Okinawa after the close of the war. I found some great photos of one of these examples, practically a walk-around of a specific aircraft and so I had found the prototype for my replica. This example was really beat up. By this point the quality of paint the Japanese had on hand was very poor. I’m sure the plane looked nice for a while – it was to be a single-use aircraft, after all – but after months and months in the heat, wind, and rain on Okinawa the craft was sure to look very weathered.
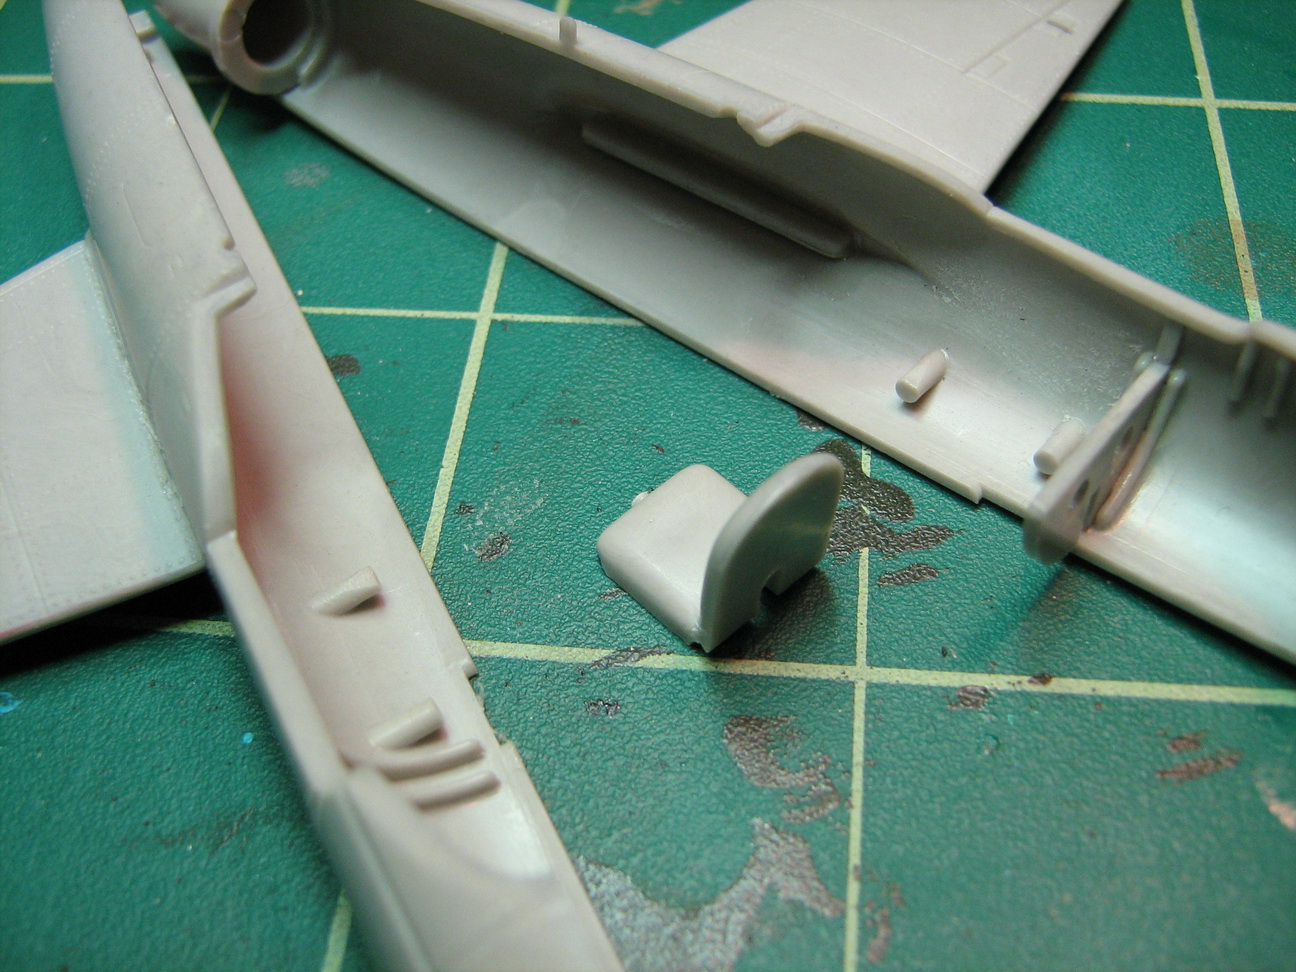
I began by looking at what I had in the box. Which honestly wasn’t much. The Hawk it was very basic, and over time the decals had gone missing as well. The cockpit in particular was a disappointment. There was none – there was a rudimentary seat and a pilot figure to sit in it. So the first order of business was to scratch-build a cockpit. Fortunately for me, the Smithsonian has a very nice photo book called At The Controls (by Eric Long & Mark Avino, ISBN 1-55046-365-9) which happened to contain some very good close-up photos of an Ohka cockpit.
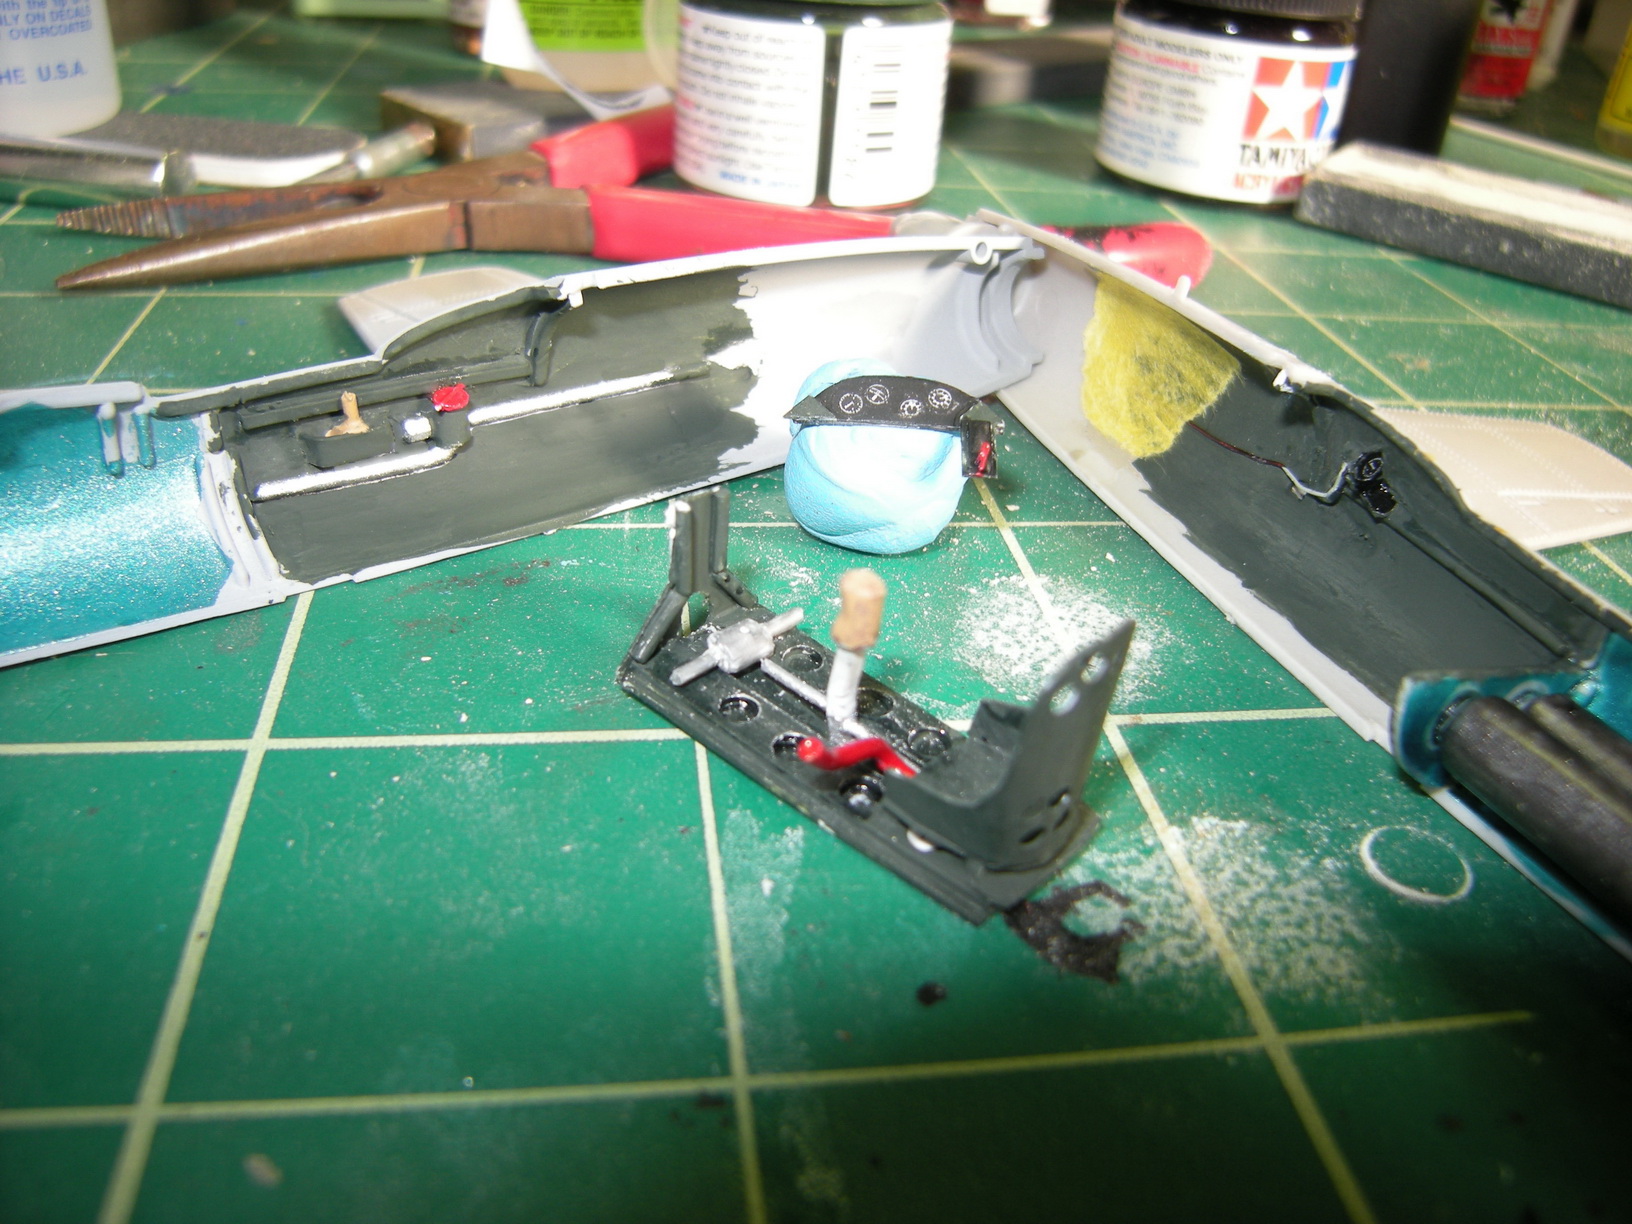
I started by pulling an Eduard photo-etch set from one of my other Japanese aircraft subjects. I traced their example of a seat onto thin styrene, cut it out and folded and glued it as if it were a PE part. It came out very nice. I cut two strips of styrene to length and used a punch to put some holes in them, then glued them down to a rectangle of plastic. This formed the cockpit floor and the seat was mounted to this. A control stick and rudder pedals were formed from plastic rod and added to this, and a sheet plastic bulkhead was glued onto the forward end. It was painted with Japanese interior green and then dry-brushed with steel and aluminum to bring out some detail.
 Really old, bare-bones kit |
 Really bare cockpit |
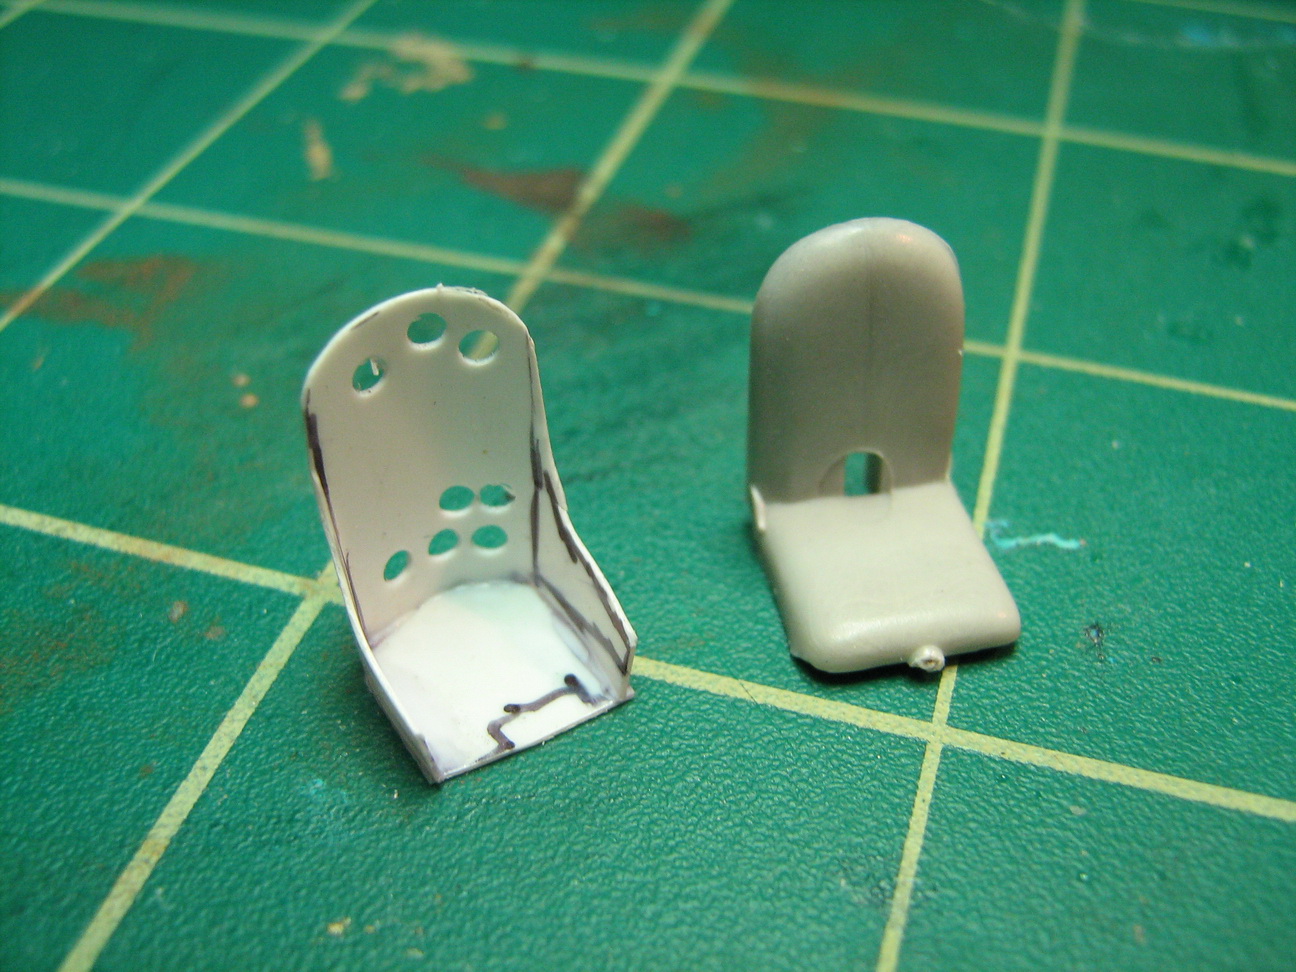 Updated seat |
Using photos in the book as a guide various shapes were cut out of styrene stock and added to the cockpit walls, and some fine wire was added for additional detail. A half-circle of plastic was cut out to form the instrument panel. The panel didn’t have many instruments, and they were easily replicated using Mike Grant decals.
This was my first attempt at scratchbuilding a cockpit, and fortunately the Ohka didn’t require a lot of work. Scratchbuilding is not really that difficult, it’s just a matter of patience, research, and the ability to replicate shapes. Don’t be afraid to try it.
Once that was finished, I only had to glue on the wings, a nosecone, and the tail. I’d like to say that the cockpit was the hardest part of the model, but for me that was nothing compared to getting the canopy right. I had spent the time doing the cockpit so I wanted the canopy open so it could be seen. The kit part was one-piece, so it had to be cut apart. Things were going well until I picked up the center section to start masking it for painting. CRACK! It was such fine plastic that it too little pressure to break it into two parts. And not a clean break, either. I wasn’t sure where to go from here – to try vacuforming or gluing it back together. My bacon was saved by my local hobby shop, where when I told the owner about my plight he mentioned he thought he had the old Testors re-box “in the back somewhere.” Sure enough, he did, so I went home with a new kit. This time, it was one of the end pieces that cracked, but between the two kits I ended up with one good canopy.
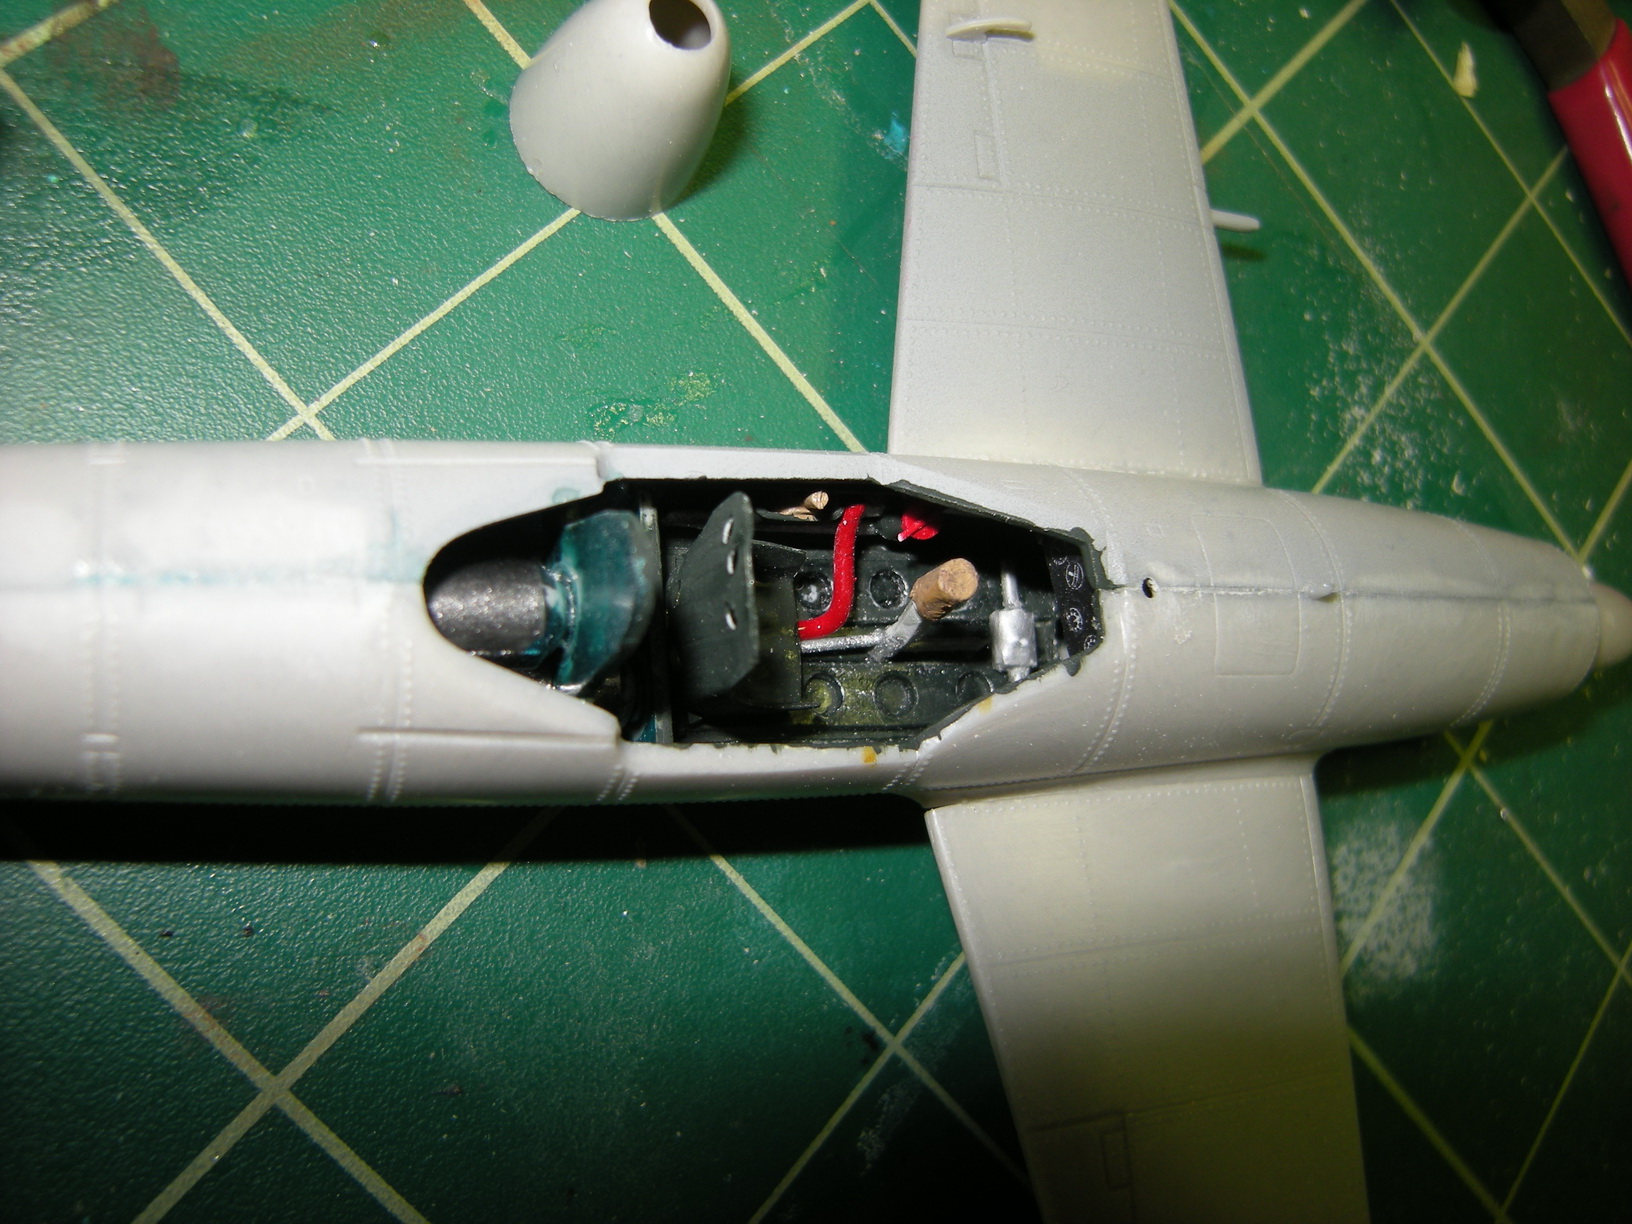
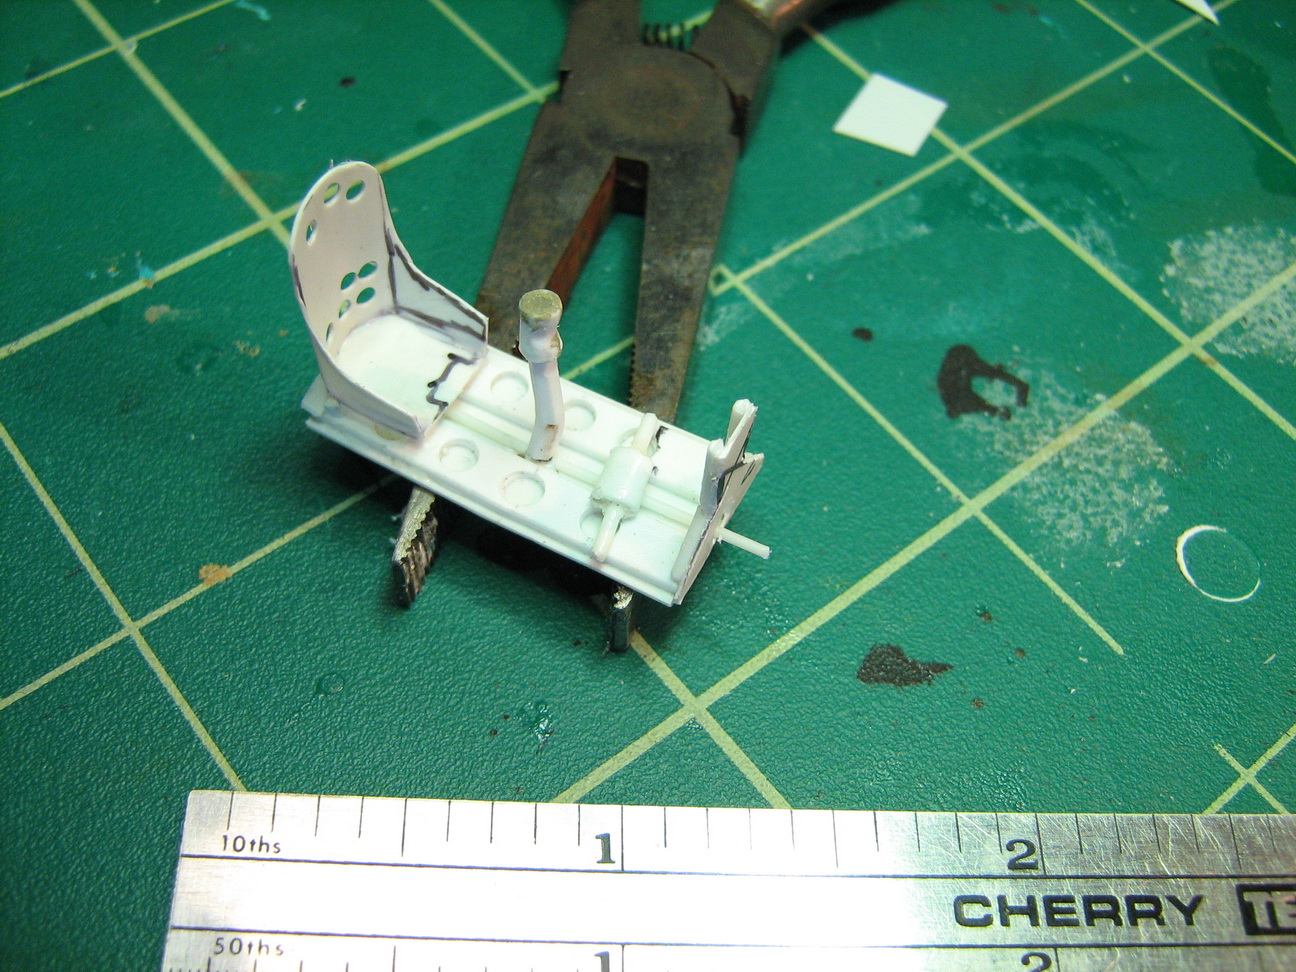 New cockpit |
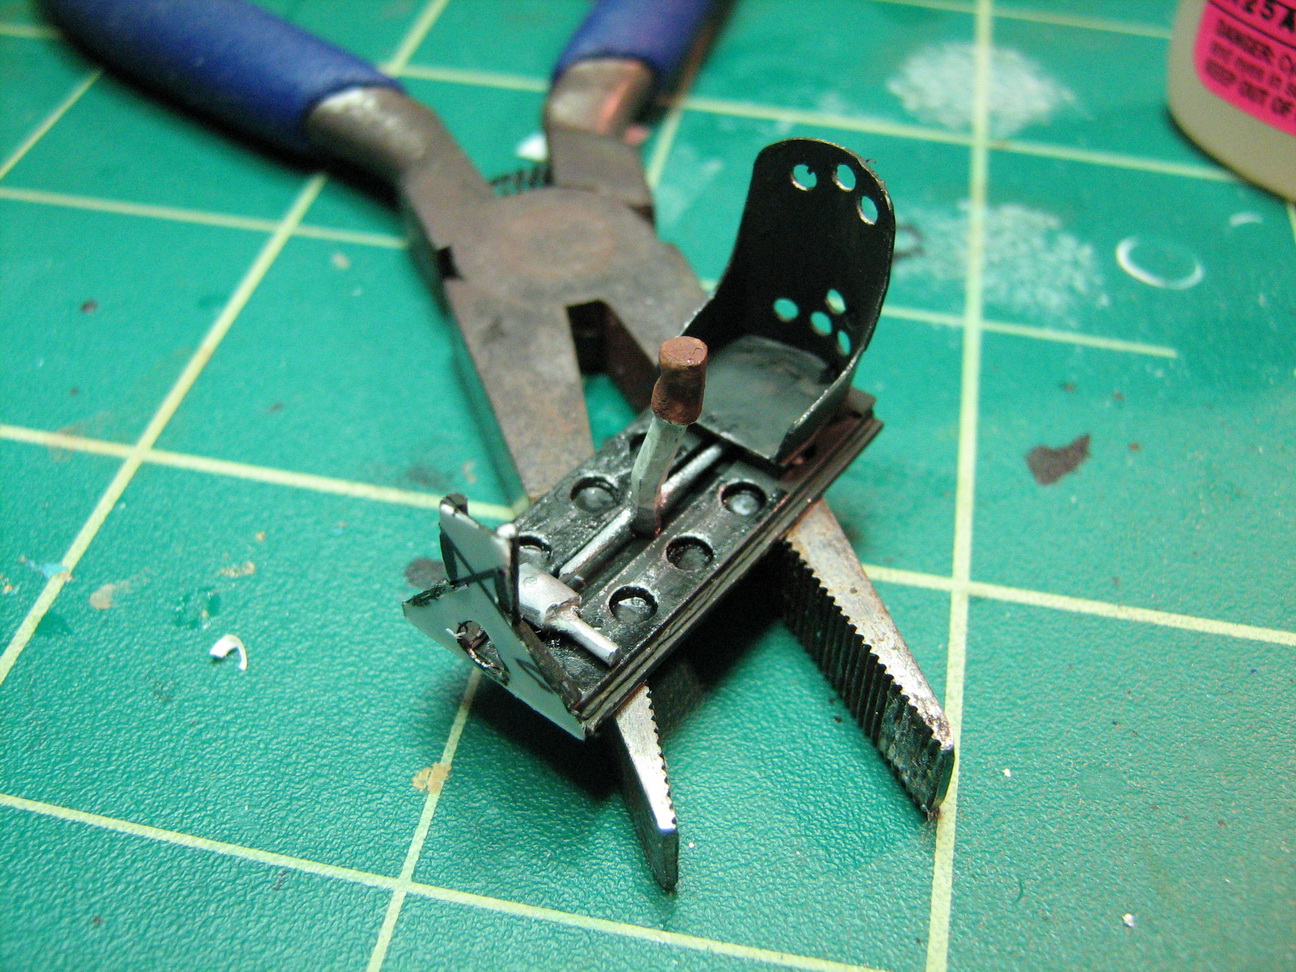 Painted and detailed |
 Side panels are very basic |
Painting was an all-over coat of Tamiya light gray. Then it was weather. As mentioned previously, I was assuming it had been out in the elements for quite a while, so the underside was blotched and blotted with muddy colors where it might have been splashed during heavy rains. The upper sides were likewise weathered by dark washes to replicate the photos and with pastels and colored pencils to give the effect of the primer starting to come through due to exposure. The decals were created in Photoshop and printed on clear inkjet decal film. The final coat was an all-over dullcoat to even everything out.
 All closed up |
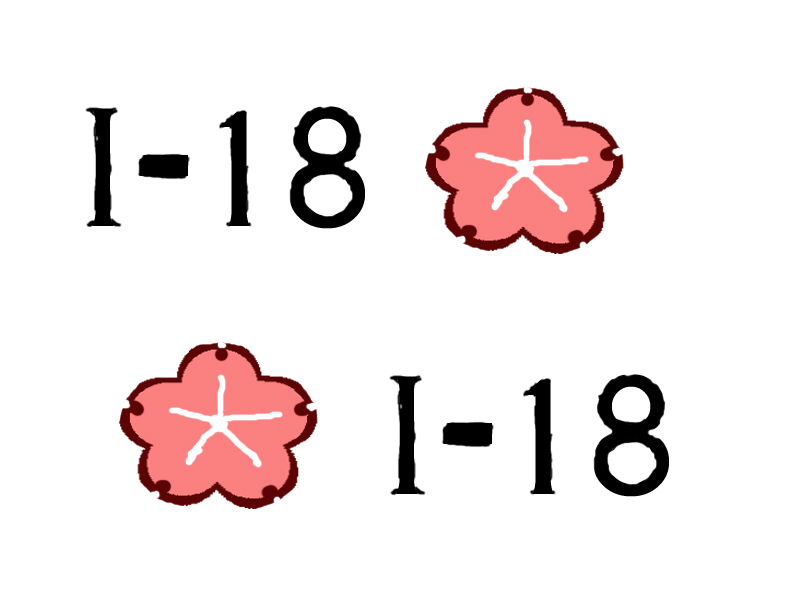 Custom decals |
 Top view with base |
To further replicate the photo the model was mounted on some scratch-built sawhorses, then the base was covered with white glue and model railroad ballast was spread around to look like the broken coral in the photos.
I’m happy with the final result, and particularly pleased that I can brag the interior was totally scratch-built. It got my year off to a great start, and I was glad to take it to the club meeting and let everyone know it was a swap-meet model!